
Allergies
(Patients -> View Chart -> Clinical -> Nursing Station)
This section covers:
Access patient’s:
Active allergies
Inactive allergies
All allergies
Record allergies
Change allergies
To access patient's allergy details:
1. Use the main Search to search for a patient.
Fig 1: Search Results
2. In the search results, click Chart.
The Patient Chart is displayed with the Patient Dashboard selected.

Fig 2: Patient Dashboard
3. From the left menu, under Clinical, click Nursing Station.
The Nursing Station window is displayed.

Fig 3: Nursing Station
The Nursing Station window is displayed. (This image is displayed when you reach here from the Screening process.)

Fig 4: Nursing Station Screening
The Nursing Station displays Allergies at the top of the window. The details are as follows:
Active - Click to display only the active allergies related to the patient. In this the following information related to the patient’s active allergies are displayed:
Allergy Name/Type
Severity
Results of this allergy on the patient body
Start Date
Inactive - Click to display only the inactive allergies related to the patient. In this the following information related to allergies which are no longer active are displayed:
Allergy Name/Type
Severity
Results of this allergy on the patient body
Start Date
End Date
All - Click to display all the allergies related to the patient. In this the following information related to all active and inactive allergies are displayed.
Allergy Name/Type
Severity
Results of this allergy on the patient body
Start Date
End Date
To Add/Edit Allergies:
1. In the Nursing Station window, in the Allergies widget, click Add/Edit.
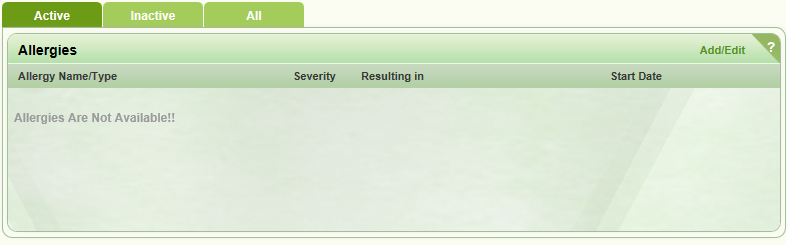
Fig 5: Allergies widget
The Allergies popup is displayed.
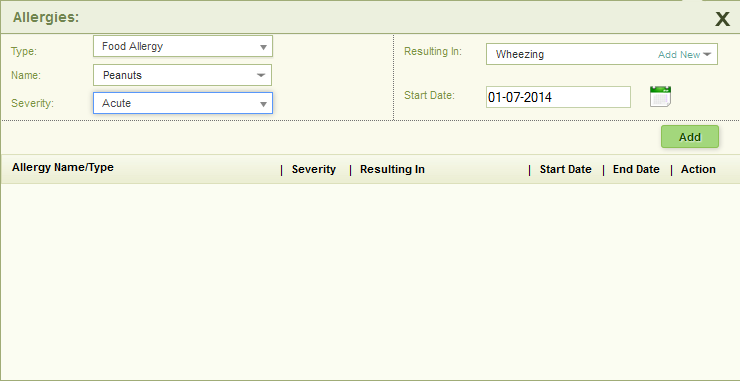
Fig 6: Allergies: Add popup
2. In the Allergies popup, enter/select the following:
| S.No. | Field Name | Field Details |
| 1. | Type | From the drop-down list, select the type of allergy. |
| 2. | Resulting In | From the drop-down list, select a condition that results out of this type of allergy. |
2.1 |
Add New | When a condition is not available in the drop-down list, click Add New to add a new condition. |
| 3. | Name | From the drop-down list, select the cause for this allergy. |
| 4. | Severity | From the drop-down list, select the severity of this allergy. |
| 5. | Start Date | Click the calendar control to select the date of start of this allergy. |
3. Click Add.
A message stating successful addition of allergy is displayed. The allergy is then displayed in the table given below the fields.
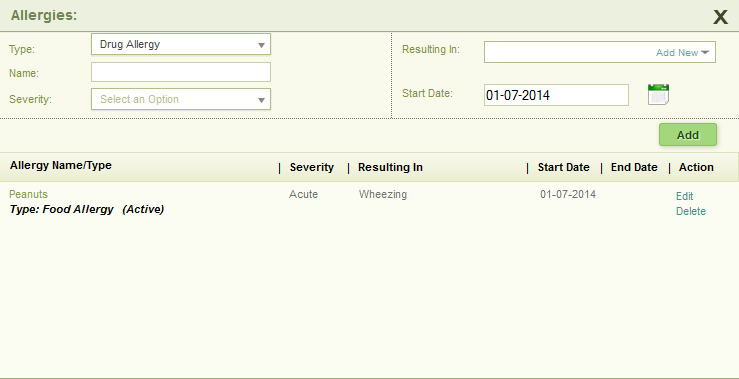
Fig 7: Allergies Added
Tip: Click Edit to edit the details. Click Delete to delete the details.
Tip: Once you click Edit, there is an Inactive check box that appears below the Start Date. Select it if you want to make the Allergy as inactive. Also, click the calendar control to select a date from when the Allergy was made inactive. A screen shot is given below to show the Inactive check box.
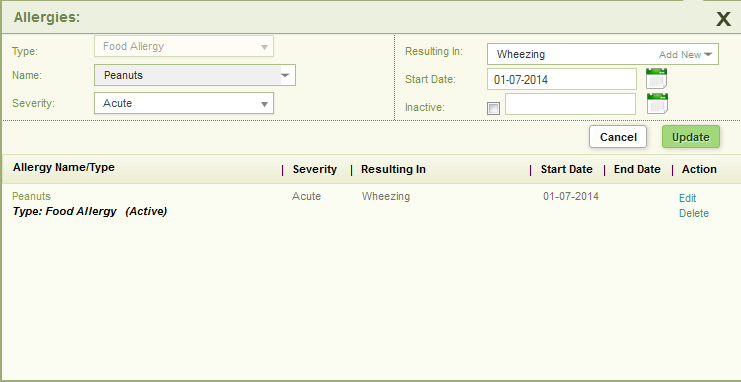
Fig 8: Allergies: Edit popup
4. Click the ‘X’ symbol given at the top right hand corner of the Allergies popup to close it.
The Allergies widget now displays the entered details.
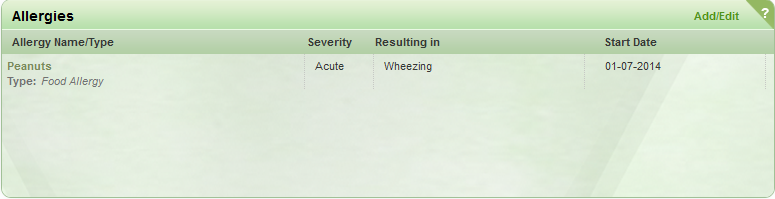
Fig 9: Allergies Added Widget
(Back to Screening) (Click the hyperlink to go back to the Screening section.)