Patient Education
(Patient Chart -> Education)
This section covers the education provided to the patients with regard to their diagnosis. You may access, record, and change the details.
To access education details:
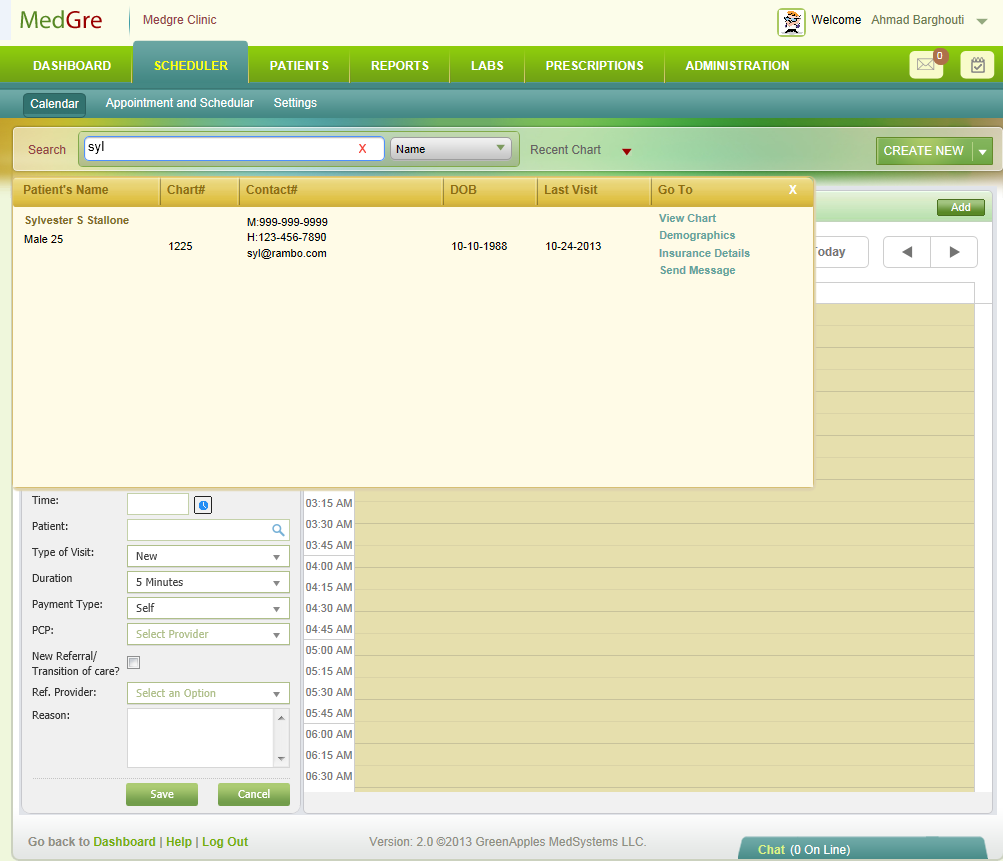
1. Use the main Search to search for a patient's details.

Fig 1: Search Results
2. In the search results, click View Chart.
The Patient Chart is displayed with the Patient's Dashboard selected.

Fig 2: Patient Chart
3. From the left menu, select Education.
The Education window is displayed.
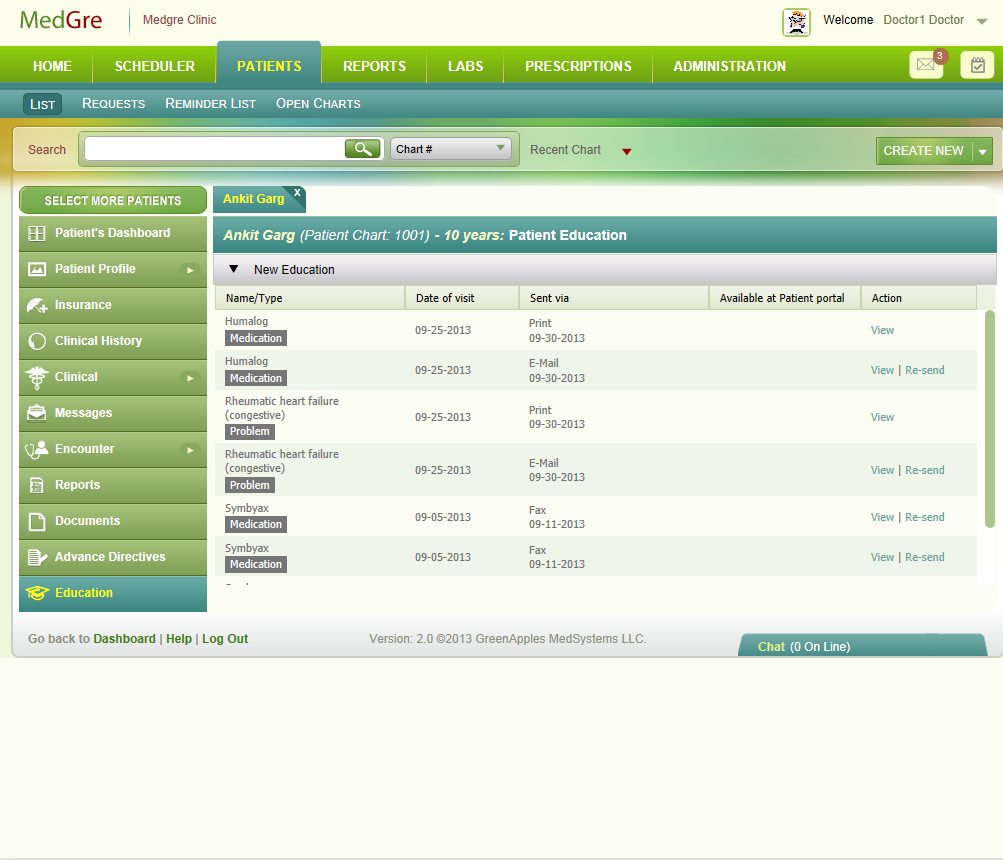
Fig 3: Education window
To record and change education details:
The Patient Chart is displayed with Education on the left menu selected. This screen is displayed when you are in the checkout process.
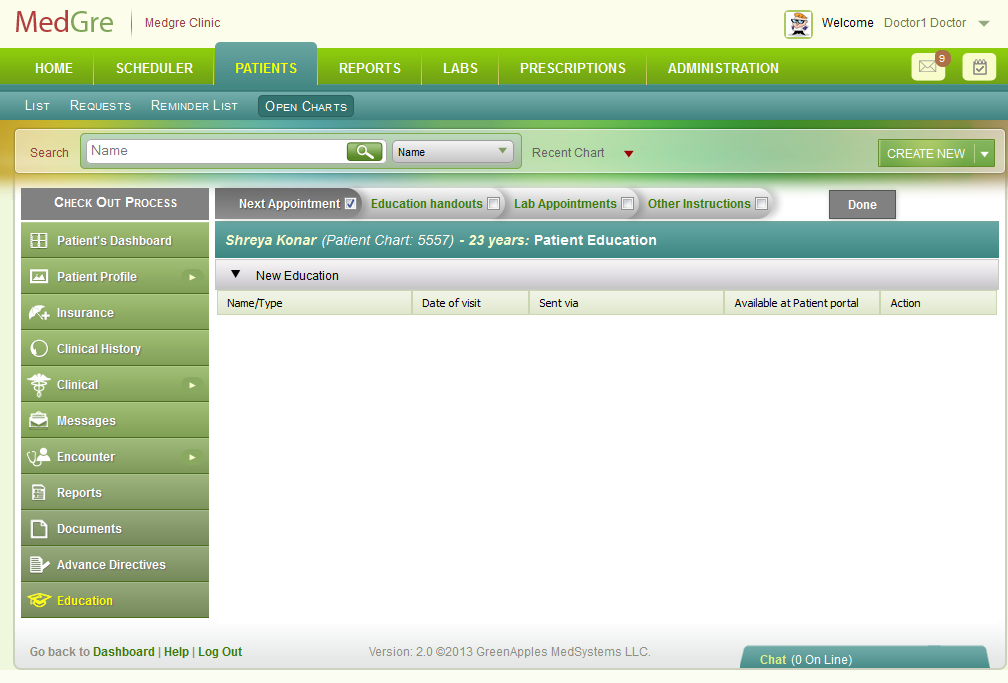
Fig 4: Education window checkout
The Education window displays:
Name/Type: The name of the item for which patient is to be educated. The 'Type' denotes the type of that item. For example, Problem/Medication/Lab-Procedure.
Date of visit: Details of the date of visit.
Sent via: The mode of communication of the information. For example, fax, email, and print.
Available at Patient Portal: Indicates whether the information is available at the patient's portal.
Action: Enables the user to either view or re-send the information.
4. To add new education information, click the black downward arrow that precedes New Education.
A window to enter new education details is displayed.
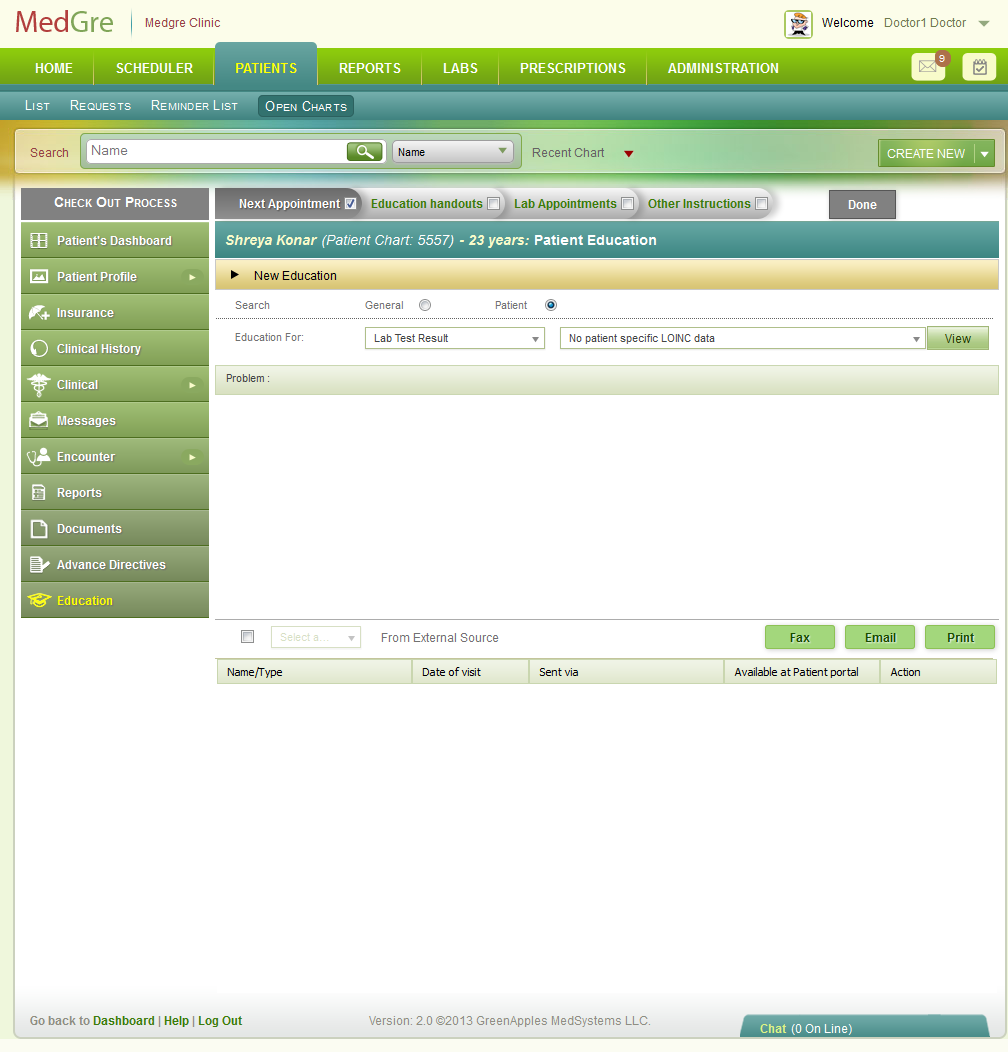
Fig 5: New Education entry
5. Select the Patient radio button. It is the default selection.
Tip: Selecting the General radio button will display all details. Selecting Patient radio button displays details that are relevant only to this patient.
6. Select an option from the Education For drop-down list. Based on this selection, the next drop-down list is populated with relevant details. Select an option from that drop-down list too.
7. Click View.
The box below is populated with the details.
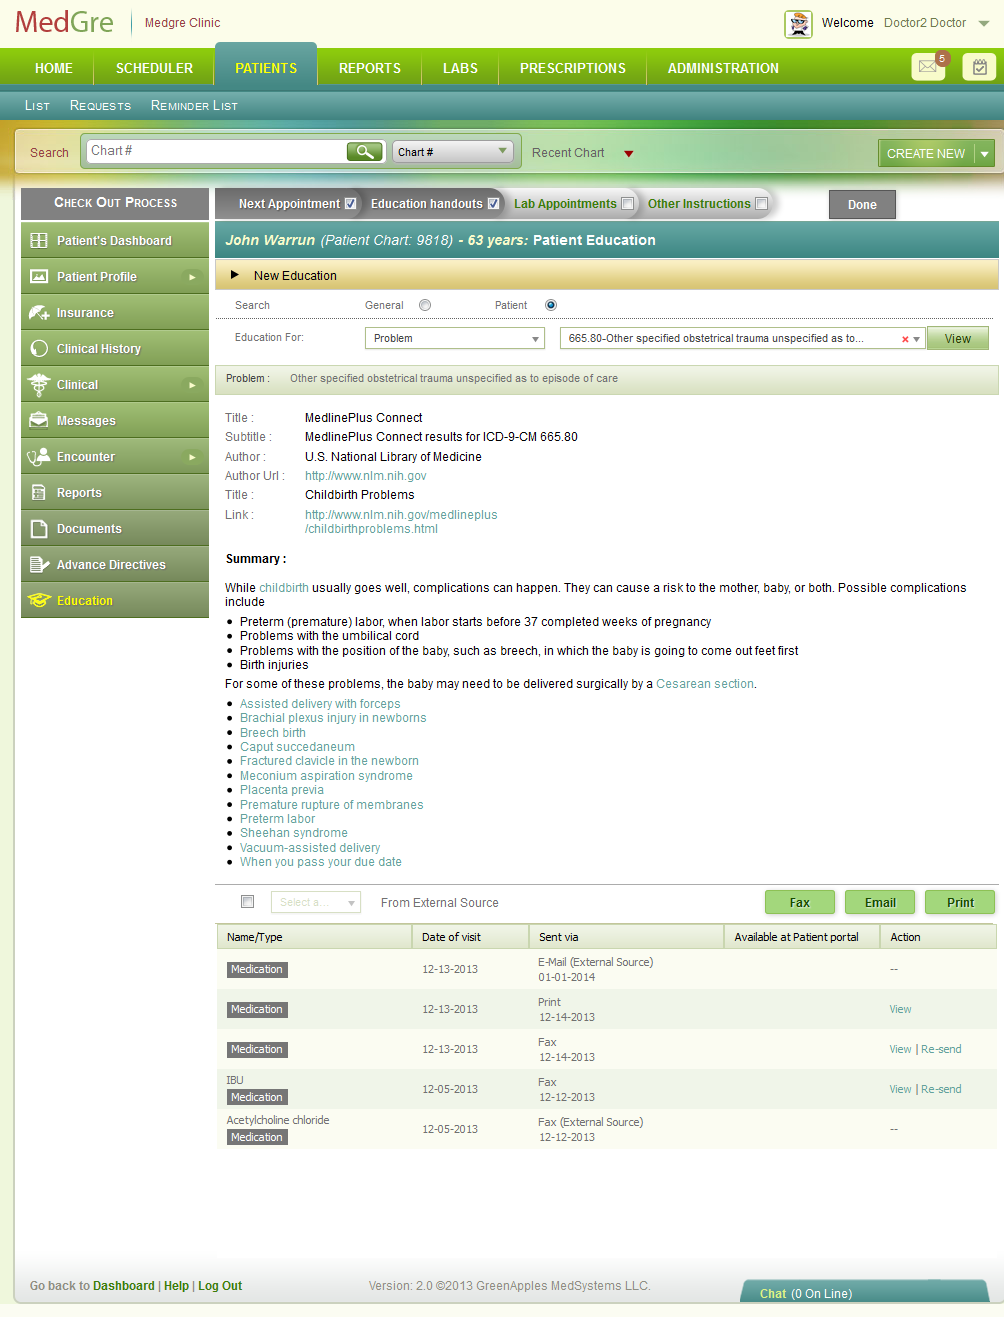
Fig 6: Education window details
Note:
The initial information (for example, Title, Subtitle, Author, etc.) gives the details of the Third party resources and their links. The patient may use such information for educating himself/herself about the Medication/lab/Diagnosis concerned.
The Summary displays detailed information of the concerned item.
8. Click Fax/Email.
The Fax/Email popup is displayed.
Select the Fax/Email check box.
Enter the fax/email number/id.
Enter Note if any.
A brief message is displayed stating the successful transmission of the fax. The education details are added to the window.
Tip: Click View Report to view the report in pdf format.
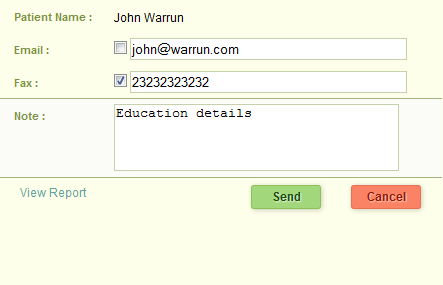
Fig 7:Fax/Email popup
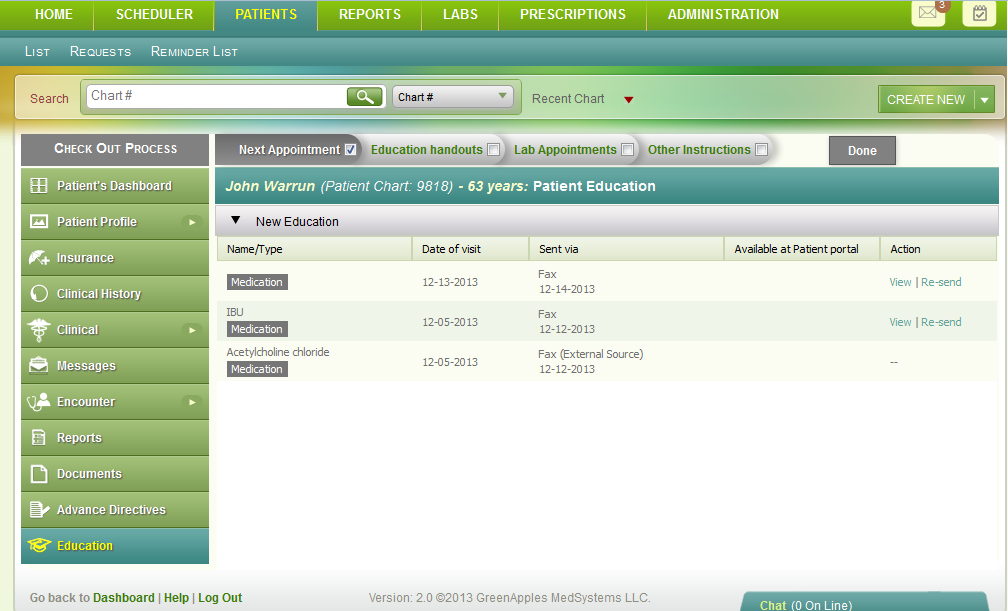
Fig 8:Education window updated
Tip: Click Print to print the report in pdf format.
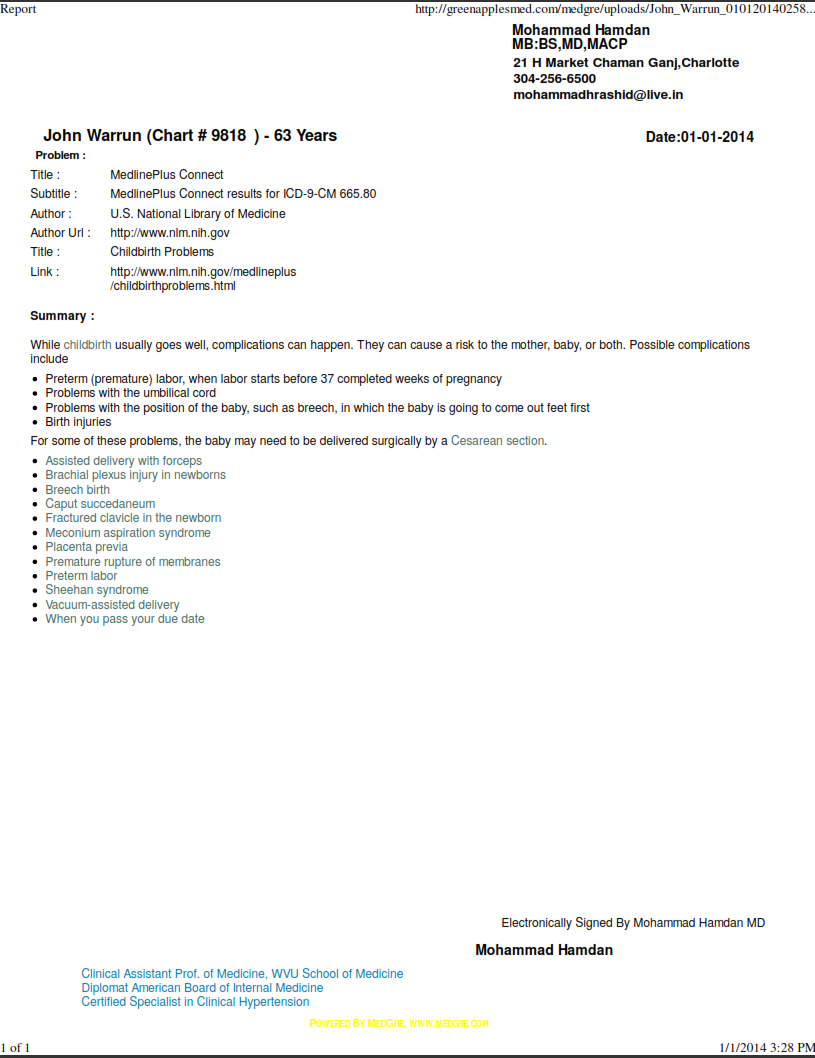
Fig 9: Print PDF
Tip: While clicking the Fax, Email, and Print buttons (in green color) helps you to send the information through MedGre, you may send the information through an external fax / email / print system. To do this, select the From External Source check box, and select a relevant option from the drop-down list. But when you use this check box, you will not be provided the view or re-send options under the Action column.
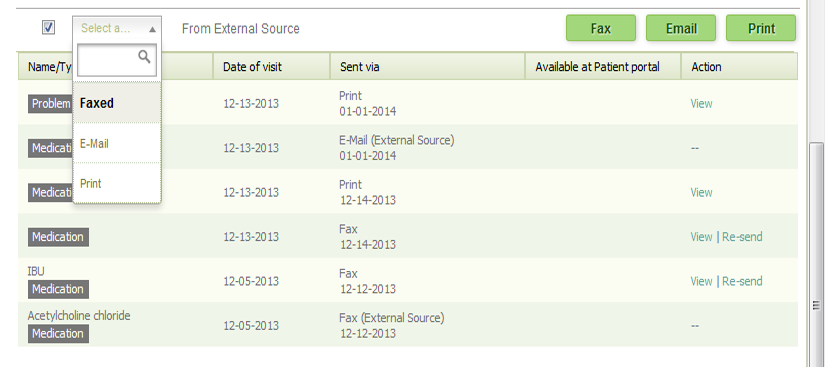
Fig 10: External Source option
9. Click Lab Appointments to complete the next process in Check Out. (Click the Lab Appointments hyperlink to go back to the Check Out section.)